How to Decorate a Christmas Tree Step by Step
Quick answer
How to decorate a Christmas tree? Decorate a Christmas tree in this order: fluff the branches, add lights (about 100 per foot), add ribbon or garland, hang large ornaments, fill in with medium and small ornaments, add picks, then the topper and a tree skirt or collar.

Most trees that look “off” were decorated in the wrong order. Follow these 8 steps, in this order, and any tree, real or artificial, big or small, will look full and balanced. We also include a chart showing exactly how many lights and ornaments you need for your tree size.
What you’ll need
- Lights: about 100 mini lights per foot of tree (700 for a 7-foot tree)
- Ornaments in two or three sizes: about 10 to 15 per foot of tree
- Wired ribbon or garland (optional): 2 to 3 rolls for a 7-foot tree
- Picks or filler such as berries, pinecones or florals (optional)
- A tree topper
- A tree skirt, collar or basket
- Floral wire or ornament hooks, and a step stool
Step 1: Set up and fluff the tree
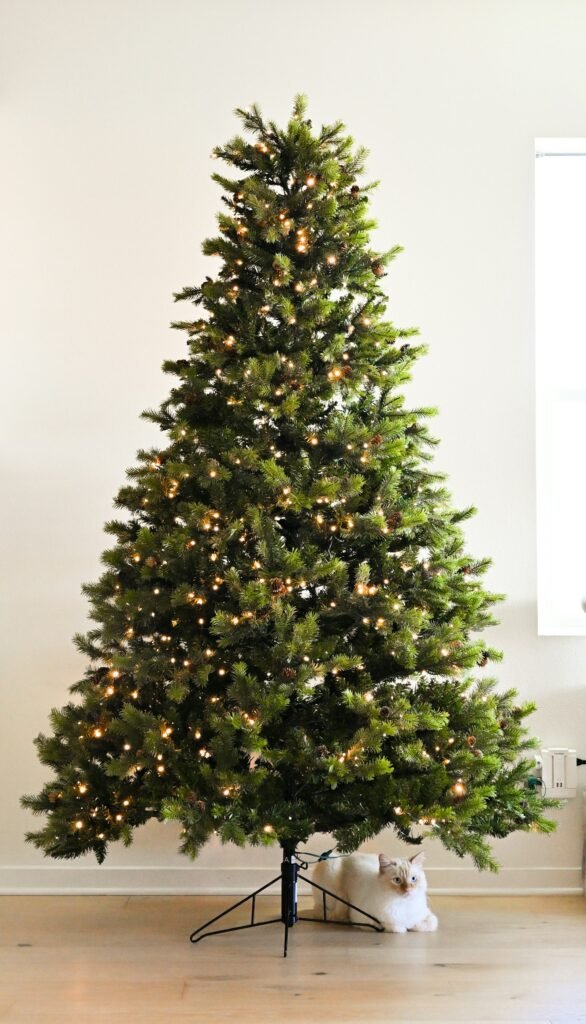
Put the tree in its final spot first, away from heat vents and fireplaces. If it is artificial, fluff every branch: separate each tip and bend it up and out so there are no flat sections. Start at the bottom and work up. This step takes 20 to 40 minutes but makes the biggest difference in how full the tree looks. If it is a real tree, let the branches settle for a few hours after you bring it inside.
Step 2: Add the lights
Plug in every strand before it goes on the tree so you are not hunting for a dead bulb later. Start at the bottom near the trunk. Run the strand out to the tip of a branch and back toward the trunk, then move up. Wrapping each large branch this way puts light deep inside the tree, not just on the outside. Not sure how many strands to buy? See how many lights for a Christmas tree by height.

Step 3: Add ribbon or garland
Ribbon goes on before ornaments so the ornaments can sit on top of it. There are two easy styles. For a waterfall look, cut 2 to 3 foot lengths and tuck them in vertically from the top down. For a classic look, drape ribbon in loose swags that drop a little from branch to branch as you go around the tree. Tuck the ribbon into the branches every foot or so, and do not pull it tight. For step-by-step photos, see how to wrap ribbon on a Christmas tree.
Step 4: Hang the big ornaments first
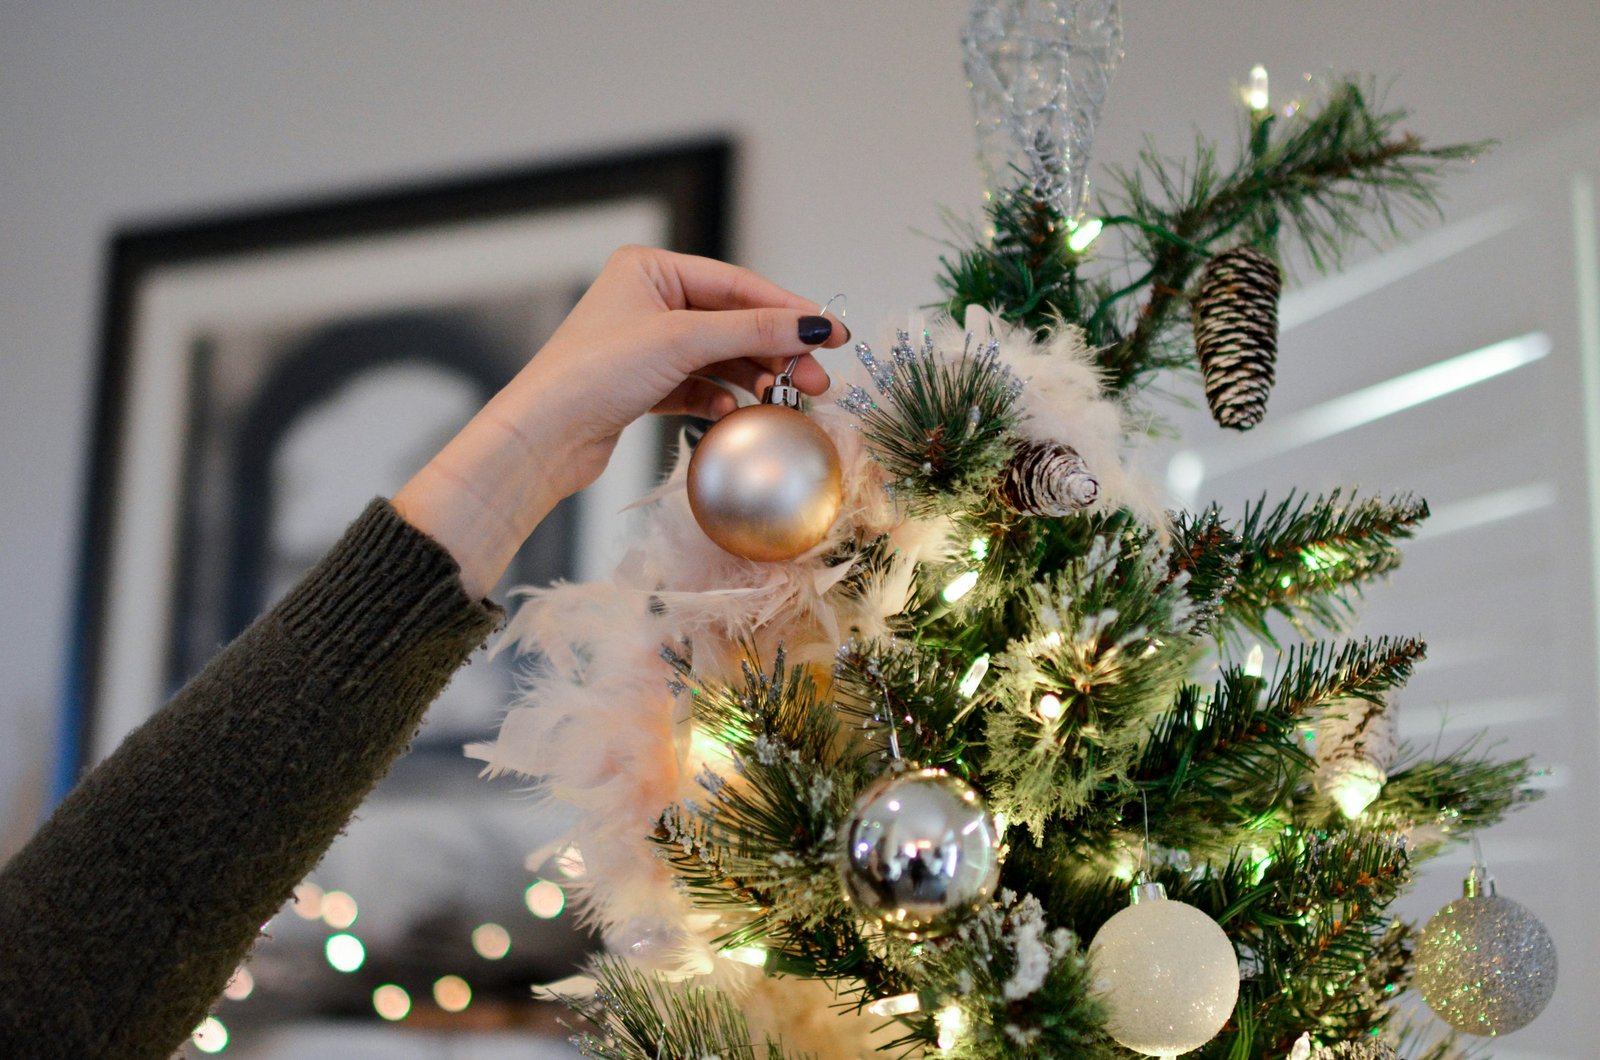
Start with your largest and plainest ornaments. Push some deep into the tree near the trunk to fill holes and reflect the light. Then space the rest evenly around the tree in a loose triangle pattern so no area is crowded. Step back every few minutes to check.

Step 5: Fill in with medium and small ornaments
Medium ornaments go next, filling the spaces between the large ones. Save your smallest and most special ornaments for last and hang them near the branch tips and at eye level, where people will see them. Keep heavy or fragile ornaments higher up if you have kids or pets.

Step 6: Add picks and filler
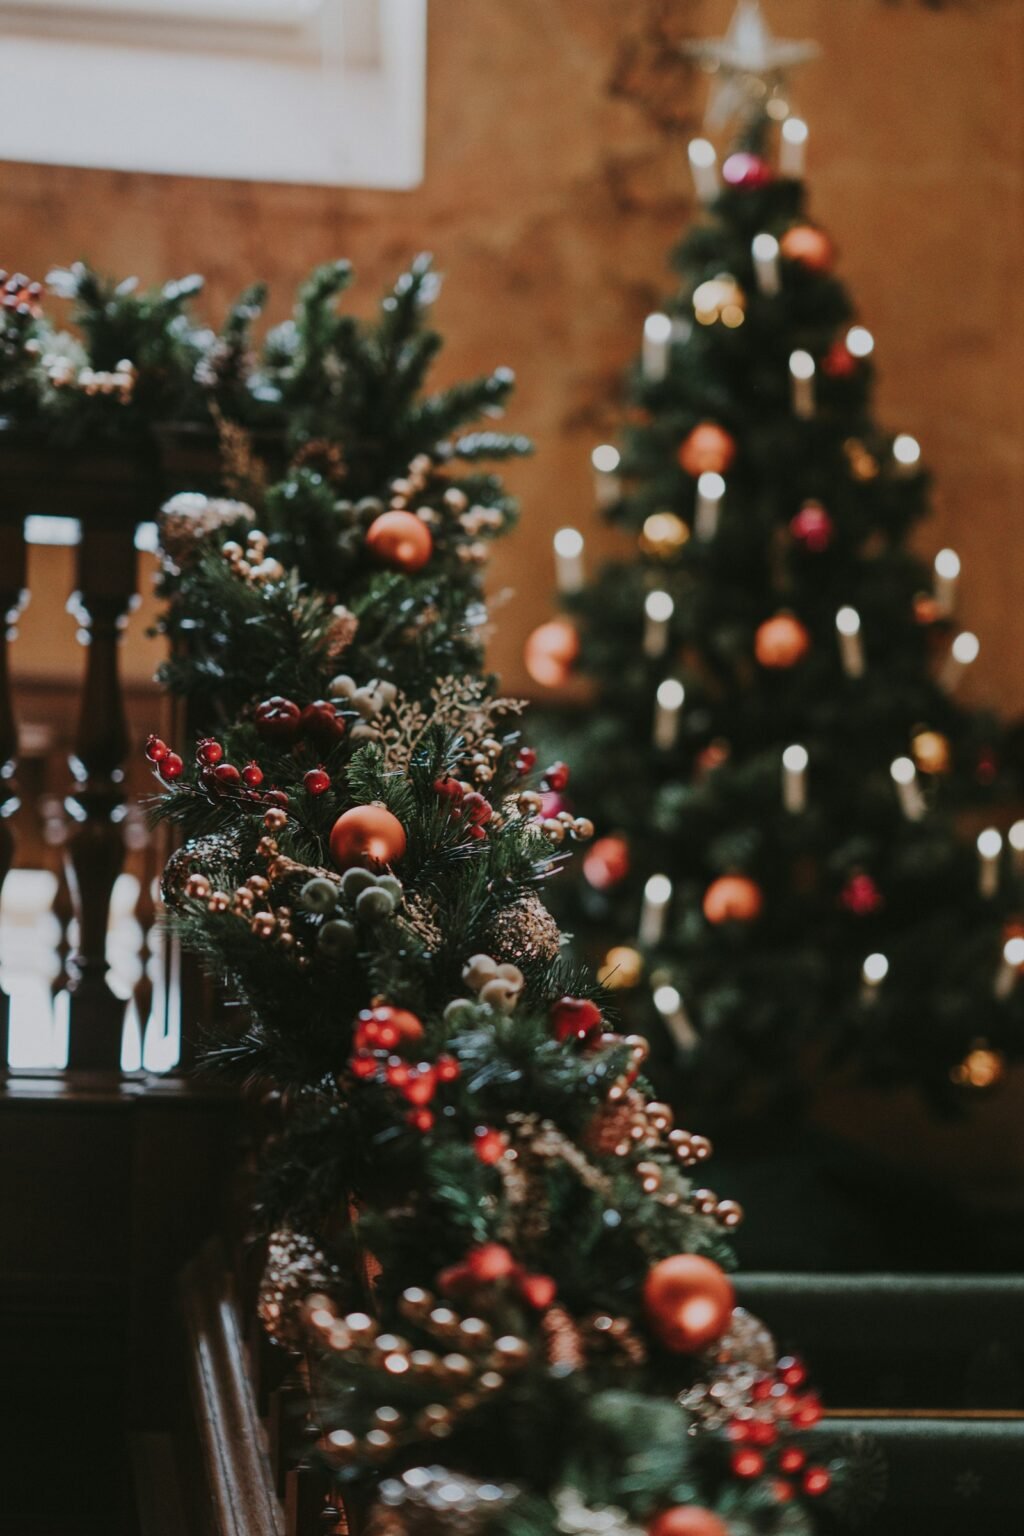
Picks are stems of berries, greenery, glitter sprays or florals. Tuck them in at an angle, pointing up and out, wherever the tree still looks thin. Group them in threes for a fuller look. This is optional, but it is what makes a tree look professionally styled.
Step 7: Add the tree topper
Toppers can be heavy, so attach them firmly. Use floral wire or a zip tie to fix the topper to the top stem, and add a small dowel or chopstick behind it for support if needed. A large bow made from your ribbon is a cheap and pretty alternative to a star.

Step 8: Finish the base
A tree skirt, collar or basket hides the stand and finishes the look; our tree collar vs skirt guide explains which suits your tree. Add a few wrapped gifts and the tree is done.
The right order, at a glance
- Fluff the branches.
- Add lights.
- Add ribbon or garland.
- Hang large ornaments.
- Fill with medium and small ornaments.
- Add picks and filler.
- Add the topper.
- Finish the base.
How many lights and ornaments do you need?
| Tree height | Mini lights | Ornaments | Ribbon |
|---|---|---|---|
| 4 ft | 300 to 400 | 40 to 60 | 1 roll |
| 6 ft | 500 to 600 | 60 to 90 | 2 rolls |
| 7 ft | 600 to 700 | 70 to 100 | 2 to 3 rolls |
| 7.5 ft | 700 to 800 | 80 to 110 | 3 rolls |
| 9 ft | 900 to 1,000 | 100 to 140 | 3 to 4 rolls |
Lights first, ribbon second, ornaments third. Getting the order right is the secret to a tree that looks full.
Common mistakes to avoid
- Hanging ornaments only on the outside. Put some deep inside so the tree has depth.
- Too few lights. Most trees need more than you think.
- Too many colors. Two or three colors look planned.
- Forgetting the back. Decorate any side that shows in a window.
Decorating on a tight budget? See our budget Christmas tree ideas and our guide to what it costs to decorate for Christmas.
Disclosure: As an Amazon Associate I earn from qualifying purchases.
Shop this look
As an Amazon Associate, Team5E earns from qualifying purchases. Prices are typical ranges and change often.
★ Our top picks: Best Pre-Lit Christmas Trees · Best Christmas Tree Skirts
How to decorate a Christmas tree with a color theme
Choosing a palette before you start makes every later step easier. Pick two or three colors, then use them in the ornaments, ribbon and picks. On a white tree, one bold color or one metallic works best; see our white Christmas tree decorating ideas. For what flocking is and what it costs, see our flocked Christmas tree guide.
| Theme | Colors | Ornaments and ribbon | Topper idea |
|---|---|---|---|
| Classic | Red, green, gold | Red and gold balls, plaid or velvet ribbon | Gold star |
| Winter white | White, silver, clear | Glass, snowflakes, white feathers, silver ribbon | Snowflake or burst |
| Rustic | Cream, wood, green | Wood beads, pinecones, burlap or check ribbon | Big burlap bow |
| Modern | Black, white, gold | Matte and metallic balls, slim ribbon | Simple metal star |
| Nostalgic | Multicolor | Vintage glass, colored lights, tinsel | Angel or vintage star |
| Woodland | Green, brown, copper | Birds, mushrooms, pinecones, velvet ribbon | Greenery spray |
For more topper choices, see our Christmas tree topper ideas. If the tree still looks sparse after decorating, our guide on how to make a Christmas tree look fuller has quick fixes.
Decorating with kids and pets
- Bottom third: soft, shatterproof or handmade ornaments only. Let kids decorate this zone however they like.
- Middle third: sturdy ornaments and most of the ribbon.
- Top third: glass, heirloom and fragile ornaments.
- Anchor the tree to the wall with clear fishing line if you have climbing cats or big dogs.
- Skip tinsel and edible ornaments if pets might eat them.
- Cover the water bowl of a real tree with the tree skirt so pets do not drink from it.
Real tree care while it is decorated
- Make a fresh cut at the base just before setting the tree in its stand.
- Check the water every day and keep the stand full; a fresh tree can drink a lot in the first week.
- Keep the tree away from heat vents, fireplaces, radiators and candles.
- Use LED lights, which run cooler, and turn them off when you go to bed or leave the house.
- If needles fall when you touch a branch, the tree is drying out. Take it down promptly.
Taking it down: store it for an easy setup next year
- Remove ornaments top to bottom, the reverse of how they went on, and sort them by size into divided boxes.
- Roll ribbon around a paper towel tube or cardboard so it stays smooth.
- Wrap lights around a piece of cardboard or a reel, and label any strand that needs a new bulb or fuse.
- Store picks flat in a long box so they do not bend.
- For artificial trees, fold the branches gently and store the tree in a bag. See how to fluff an artificial tree for the next setup.
- Label every box by step (lights, ribbon, large ornaments, small ornaments, topper) so next year you can follow the same order.
Once you know how to decorate a Christmas tree in the right order, the job gets faster every year, and the tree looks better every time.
Helpful resources: For more on how to decorate a Christmas tree, see the National Christmas Tree Association and U.S. Fire Administration.
How to decorate a Christmas tree: frequently asked questions
What order do you decorate a Christmas tree?
Fluff the branches, add the lights, add ribbon or garland, hang the large ornaments, fill in with medium and small ornaments, add picks, then put on the topper and finish the base.
Do lights or garland go on first?
Lights always go on first. Ribbon or garland goes on next, and ornaments go on last so they can sit on top of the ribbon.
How many lights do I need for a 7-foot tree?
A 7-foot tree usually needs about 600 to 700 mini lights, based on the common rule of about 100 lights per foot of height.
How long does it take to decorate a Christmas tree?
Plan on 2 to 3 hours for a 7-foot tree, including fluffing the branches. Fluffing and lights take the most time.
How many ornaments do I need for a 7 ft tree?
Plan for about 70 to 100 ornaments for a 7-foot tree, in two or three sizes. Mixing in some large 4 to 6-inch ornaments means you need fewer overall.
Should ornaments go deep into the tree?
Yes. Hanging some large ornaments deep inside, near the trunk, fills holes and reflects light, which makes the tree look fuller and more professional.
Sources: ENERGY STAR decorative light strings, National Christmas Tree Association. Prices are national planning ranges, not quotes. See how we research costs.
Latest Posts
 Best Boot Tray for Winter (2026): 8 Picks for Snowy, Muddy Entryways
 Best Watch Winder for Automatic Watches (2026): 7 Quiet Picks and a Gift Guide for Him
 Best Ice Ball Maker for Whiskey: 8 Clear Picks (2026 Gift Guide)
 Best Luxury Hair Perfume for Women: 8 Designer Hair Mists Worth Gifting (2026)
 Best Garment Racks With Covers (2026): Rolling, Heavy-Duty and Dust-Proof Clothes Racks
 Best Tennis Bracelets on Amazon (2026): CZ, Moissanite and Lab-Grown Diamond Gifts for Her