How to Fluff an Artificial Christmas Tree (So It Looks Full)

Quick answer
How to fluff an artificial Christmas tree? To fluff an artificial Christmas tree, set up one section at a time starting at the bottom, work from the pole outward, fan every tip in different directions (up, left, right and slightly down), curve the branch ends upward, then step back and fill gaps. A 7.5-foot tree takes about 30 to 60 minutes.

A flat, sparse artificial tree usually just needs better fluffing. This step-by-step method makes any artificial tree look fuller and more natural, often like a much more expensive tree.
What you’ll need
- Gardening or work gloves (tips can scratch)
- A step stool for the top sections
- 30 to 60 minutes for a 7.5-foot tree
- Optional: a long-sleeved shirt
Step 1: Set up the bottom section only
Put the stand in place and add only the bottom section. Fluffing one section at a time, while it is at a comfortable height, is much easier than reaching into a fully assembled tree.
Step 2: Start at the bottom, closest to the trunk
Work from the inside out. Start with the lowest branch on the bottom section and begin at the tips nearest the pole. These inner tips are the ones most people skip, and filling them is what makes a tree look full instead of hollow.
Step 3: Separate every tip
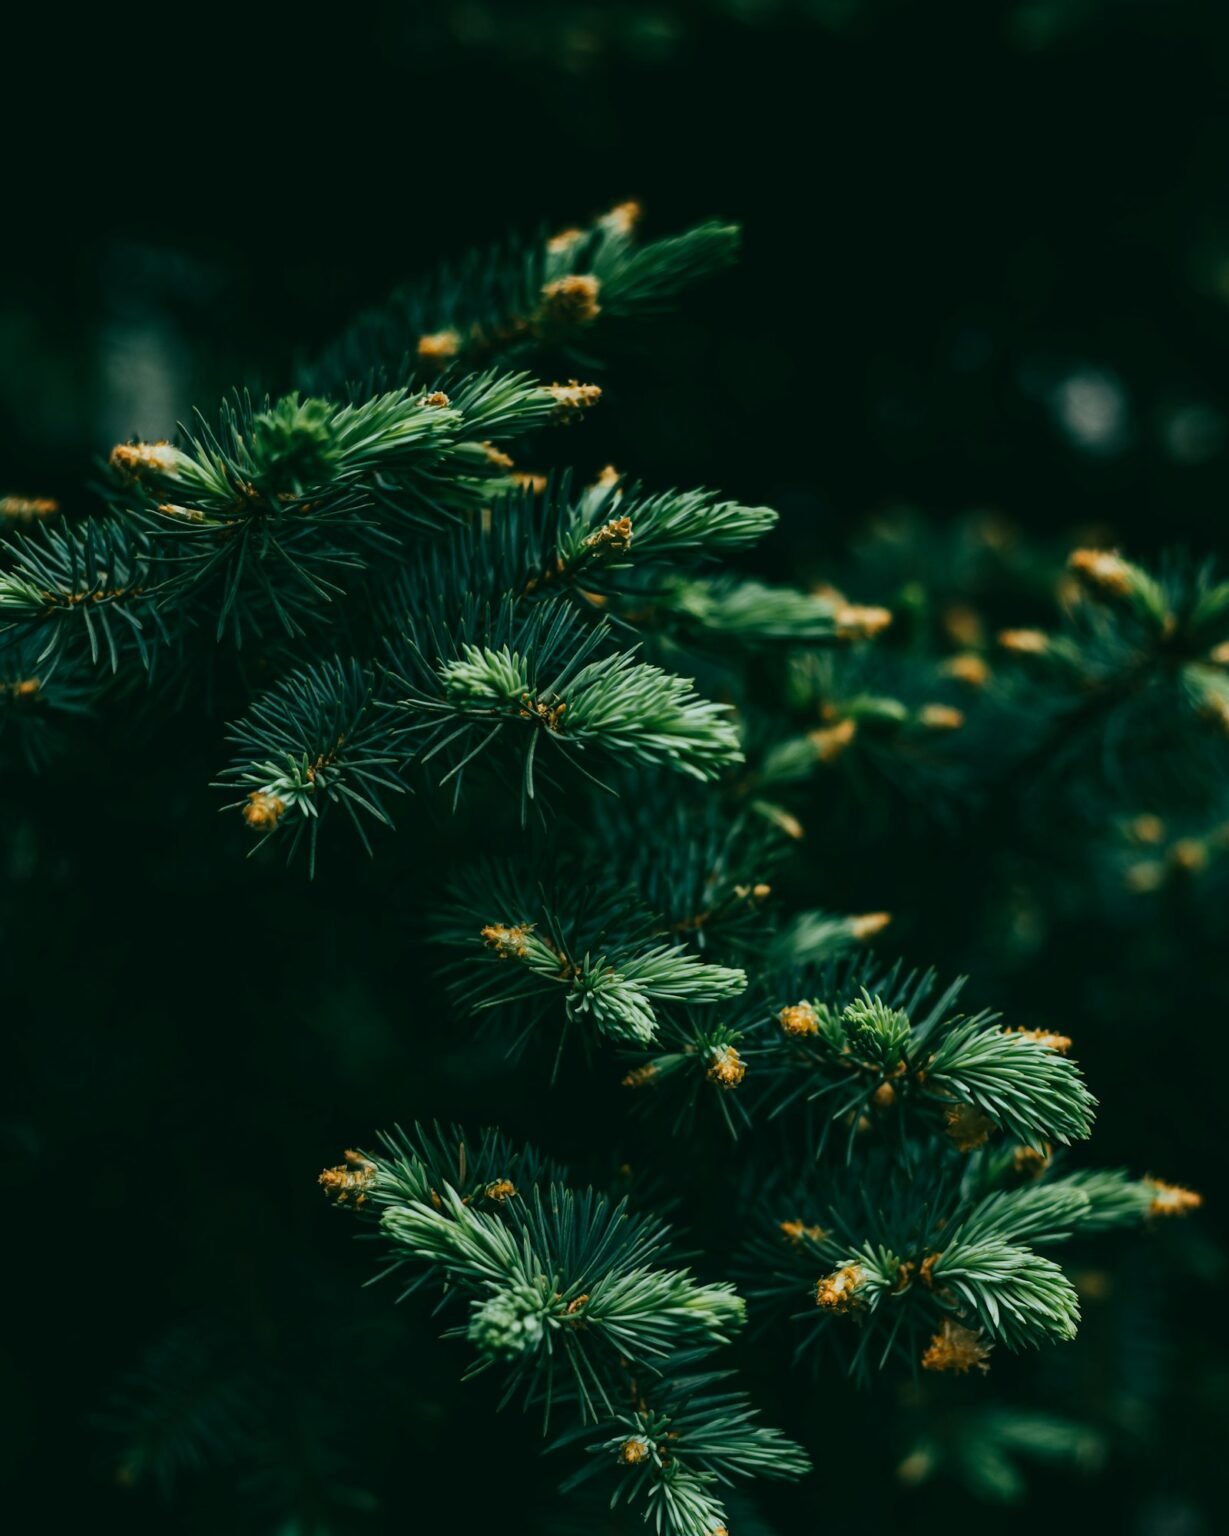
Each branch has several smaller tips. Spread them apart in a fan: bend one tip up, one to the left, one to the right, and one down slightly. Then do the next tip. The goal is no flat “pancake” sections and no gaps where you can see the pole.
Step 4: Shape the branch end
Curve the last few inches of each main branch slightly upward. Real branches turn up at the ends, and this small detail makes an artificial tree look much more natural.
Step 5: Add the next section and repeat
Once the bottom section is done, add the middle section and repeat, then the top. The top section is shorter and goes quickly.
Step 6: Step back and fill gaps
Stand back 6 to 8 feet, squint a little, and look for dark holes or bare spots. Adjust nearby tips to cover them. Turn on the lights (if pre-lit) to spot gaps more easily. If you are still shopping, compare the best pre-lit Christmas trees by size and budget.

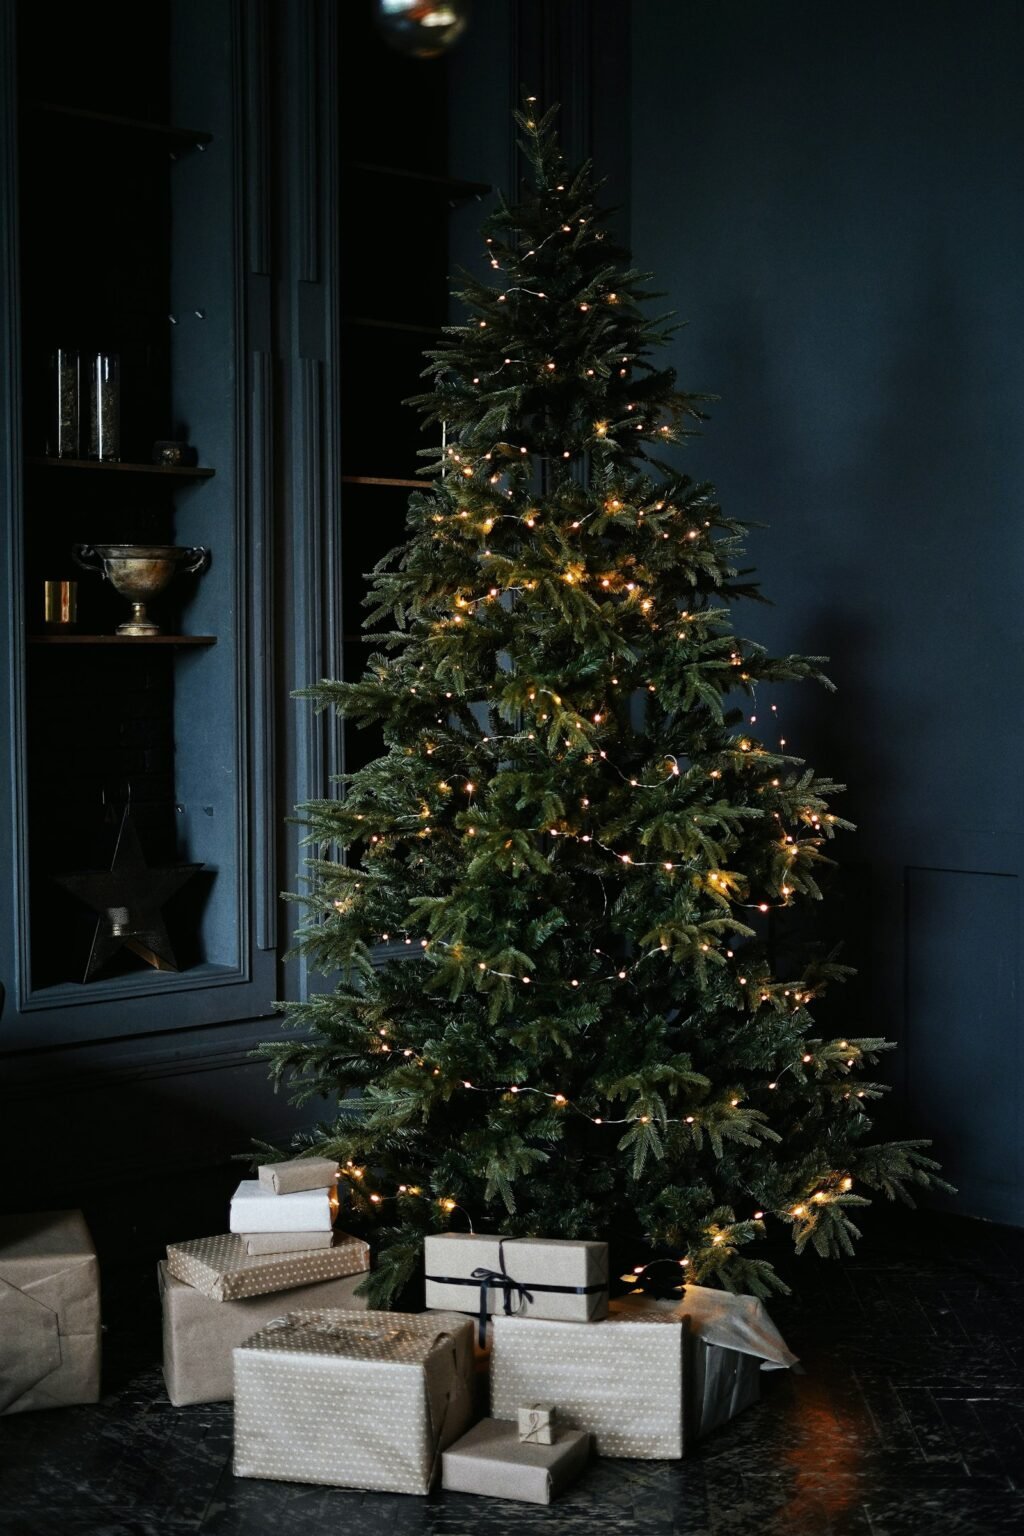
Fluff from the inside out and bottom to top, one section at a time. That is the whole secret.
Tips for a fuller look
- Do not rush the inner tips near the pole; they make the biggest difference.
- On pre-lit trees, avoid bending wires sharply.
- Add ribbon or picks to fill any gaps that remain. See how to put ribbon on a tree.
- Put large shatterproof ornaments deep inside to fill holes.
- If your tree came compressed in a box, give it a day; branches relax over time.
How long does it take?
| Tree size | Fluffing time (one person) |
|---|---|
| 4 to 5 ft | 15 to 25 minutes |
| 6 to 6.5 ft | 25 to 40 minutes |
| 7 to 7.5 ft | 30 to 60 minutes |
| 9 ft | 60 to 90 minutes |
Fluffing in 6 steps
- Bottom section first.
- Start near the pole.
- Fan every tip apart.
- Curve branch ends up.
- Repeat for each section.
- Step back and fill gaps.
How to fluff an artificial Christmas tree by tip type
Not every artificial tree fluffs the same way. The material and branch design change how you shape each tip.
| Tip or branch type | How to recognize it | Fluffing tips |
|---|---|---|
| PVC tips | Flat, papery needles cut from sheets | Fan tips widely in all directions; they hold shape well but need more spreading to hide the pole. |
| PE (molded) tips | Rounder, realistic needles molded from real branches | Shape gently; PE tips already look full, so focus on angling them slightly up and out. |
| Mixed PE and PVC | PE tips on the outside, PVC fill inside | Fluff the inner PVC fill heavily, then shape the outer PE tips lightly. |
| Hinged branches | Branches attached to the pole and fold down like an umbrella | Lower each branch fully before fluffing; check that it locked into place. |
| Hook-in branches | Loose branches you hook into the pole, often color-coded | Sort branches by color or size first, hook them in by tier, then fluff each tier. |
Fluffing a pre-lit tree without damaging the lights
Pre-lit trees take a little more care, because the wires run along the branches. Use this checklist:
- Plug in the sections first. Check that every section lights up before you spend time fluffing.
- Bend at the branch, not at the bulb. Move tips around the wire instead of pulling the wire along with them.
- Avoid sharp kinks. Repeated sharp bends can break wires or loosen bulbs.
- Tuck bulbs inward. As you fluff, push a few bulbs deeper so the tree glows from the inside.
- Keep the lights on while you check gaps. Dark spots are easier to see when the tree is lit.
Not sure whether a pre-lit tree is worth the extra care? Our comparison of pre-lit vs unlit Christmas trees covers the trade-offs.
Common fluffing mistakes
- Fluffing only the outer tips. The inside stays hollow and the pole shows through.
- Assembling the whole tree first. Reaching into the middle of a 7.5-foot tree is hard, so inner tips get skipped.
- Fanning every tip the same way. Tips all pointing up or all to the side look flat. Mix up, left, right and slightly down.
- Leaving branch ends straight. A slight upward curve looks more natural.
- Forgetting the back. Even a corner tree shows its sides. Fluff at least the parts that can be seen.
- Rushing the top section. The top is closest to eye level in many rooms, so gaps there stand out.
Troubleshooting a tree that still looks thin
| Problem | Likely cause | Quick fix |
|---|---|---|
| You can see the pole | Inner tips not fluffed | Go back and fan tips nearest the pole on every tier. |
| Flat, pancake layers | Tips pointing in one direction | Re-fan each tip up, left, right and slightly down. |
| Gaps between sections | Sections not fully seated or branches not lowered | Re-seat the sections and lower hinged branches fully. |
| Bald spots on one side | Storage compression or a damaged branch | Rotate that side to the wall or fill with picks and ribbon. |
| Droopy branches | Heavy ornaments on the tips | Move heavy ornaments closer to the trunk. |
If fluffing alone is not enough, our guide on how to make a Christmas tree look fuller covers lights, ribbon, picks and filler.
Store it right so next year is faster
How you take the tree down decides how much fluffing you will do next December. A few minutes of care now can save half an hour later.
- Remove ornaments, picks and ribbon completely.
- Fold branches gently up toward the pole instead of crushing them.
- Wrap each section loosely, or use a tree storage bag sized for your tree, rather than forcing it back into the original box.
- Store it in a cool, dry place, not a hot attic, which can make tips brittle.
- Label sections (bottom, middle, top) so setup is quick.
Learning how to fluff an artificial Christmas tree once pays off every year. With the right method and good storage, even a budget tree can look full and natural for many seasons.
Make fluffing easier as a team
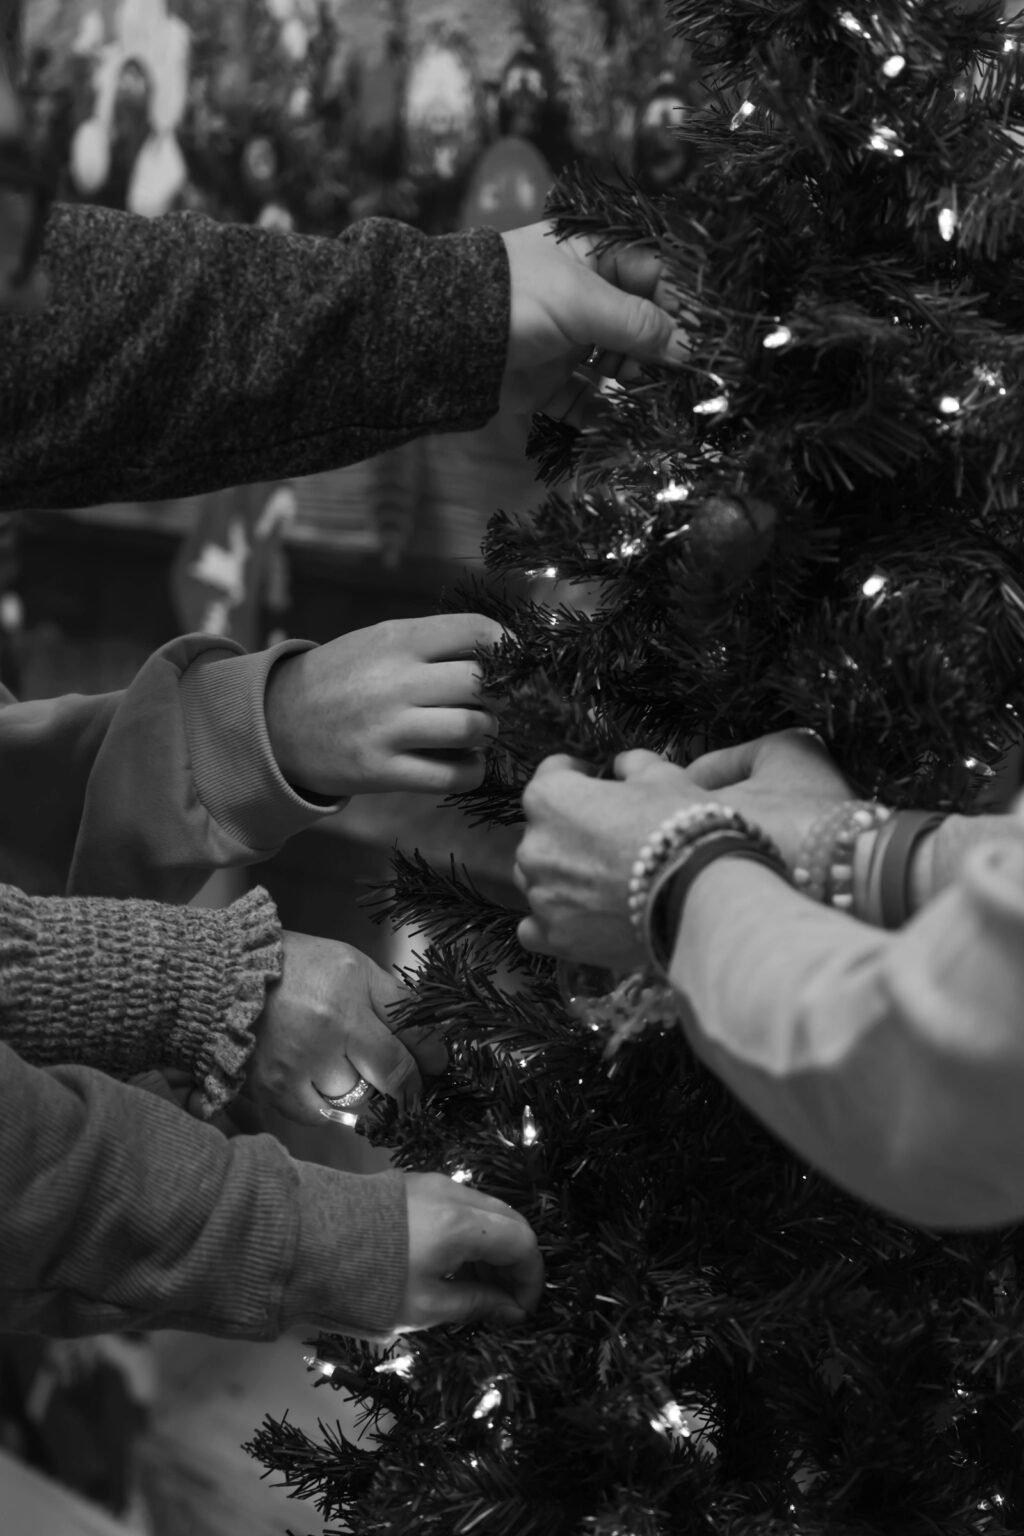
Fluffing goes faster with two people. One person shapes the inner tips near the pole while the other follows behind on the outer tips and curves the branch ends. Put on a playlist, wear gloves and long sleeves, and keep a small vacuum nearby for loose needles and dust. Most families can finish a 7.5-foot tree in about half the time this way, leaving more of the evening for lights and ornaments.
Helpful resources: For more on how to fluff an artificial Christmas tree, see the National Christmas Tree Association and U.S. Fire Administration.
How to fluff an artificial Christmas tree: frequently asked questions
How do you make an artificial Christmas tree look fuller?
Fluff every tip from the inside out, one section at a time, then add ribbon, picks and large ornaments deep inside to fill any remaining gaps.
How long does it take to fluff a Christmas tree?
About 30 to 60 minutes for a 7 to 7.5-foot tree. Trees with more tips take longer.
Should I fluff a tree before or after adding lights?
On an unlit tree, fluff first, then add lights. On a pre-lit tree, fluff carefully around the attached lights.
Why does my artificial tree look flat?
Branches get compressed in storage. Fanning each tip in different directions and curving branch ends up brings back the shape.
Do you fluff an artificial Christmas tree from the top or bottom?
From the bottom. Set up and fluff the bottom section first, working from the pole outward, then add and fluff the middle and top sections one at a time.
How do you fluff an old artificial Christmas tree?
Work one section at a time, fan every tip apart, and curve branch ends upward. If some tips stay flat, a few seconds of warm air from a hair dryer on a low setting, held at a safe distance, can help relax them. Fill any bald spots with picks or ribbon.
Latest Posts
 7 Best Christmas Stocking Holders for Every Mantel (2026)
 Best Hanging Toiletry Bag for Women (2026): 8 Organized Picks for Travel and Cruises
 Best Butter Dish with Lid (2026): 8 Picks for Counter and Fridge
 Best Luxury Nail Polish Gift Set: 7 Picks for Christmas (2026)
 Best Boot Tray for Winter (2026): 8 Picks for Snowy, Muddy Entryways
 Best Watch Winder for Automatic Watches (2026): 7 Quiet Picks and a Gift Guide for Him